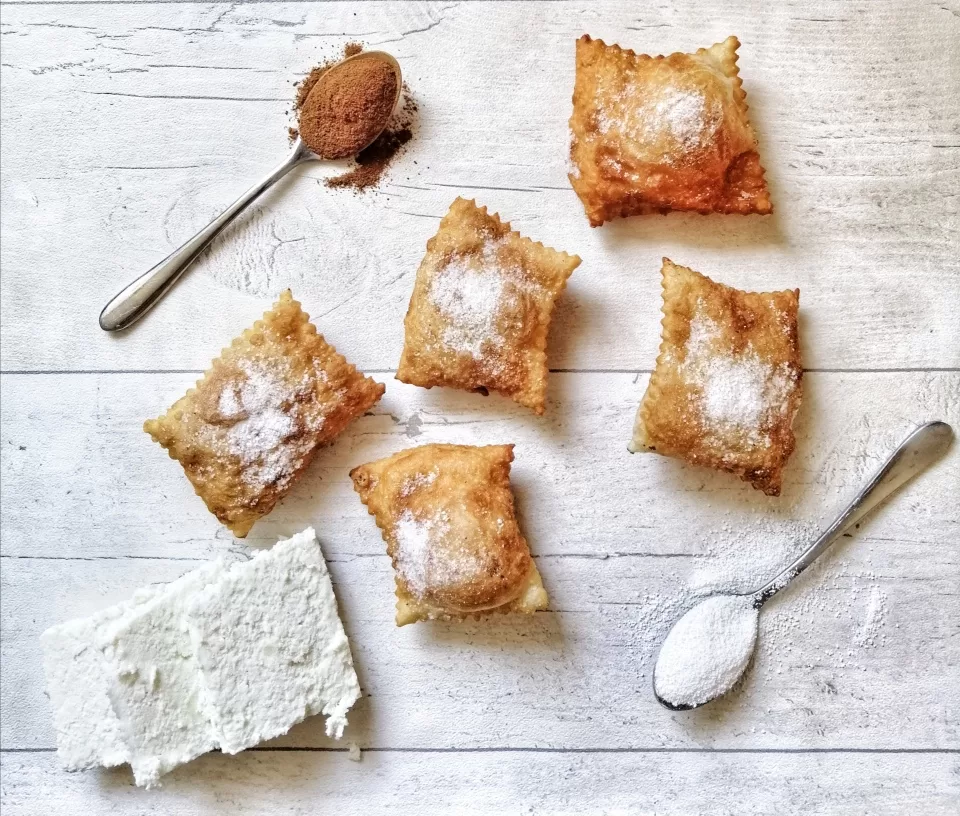
This is by far one of my favorite foods to eat in Cyprus! Traditional bourekia me anari means fried little pastries filled with ricotta cheese mixed with aromatic cinnamon and some sugar. They are simply divine!
I have used the ricotta I made the other day but if you can’t find any authentic Cypriot anari you can easily find some Italian in a deli or even in the cheese section at the supermarket.
Bourekia are made in many areas around Greece. There are more prominent though in the islands. In Cyprus, there are different varieties: with anari, with minced meat, or there is a bourekia recipe with custard cream too.
We also have a similar recipe called bourekia tis satzis but those are not fried. Instead, they are cooked in a special pan called ‘satzi’ which is like a cast iron pan. If you want to try them though and don’t have a satzi, then you can easily use a non-stick pan.
How to
For this bourekia anari recipe, simply prepare the dough and let it rest. It’s always best to let any pastry you prepare to rest cause you give time to the gluten to develop. This way, the dough can be worked better. Even though I have seen people just use a rolling pin to open the dough, I think using a pasta machine is better for this recipe. Then, prepare the filling, place a small amount on the dough and then cut in your desired shape. After that, fry them in a neutral oil like sunflower or vegetable oil, dust them with a bit of icing sugar and enjoy, warm or cold!
If you are looking for a step-by-step tutorial for these delicious pastries head over to my Instagram account where I will be sharing it in my stories.
Oh, and don’t forget to share your creations with me, it really makes me so happy!
Love,
Dina x
Step 1 Prepare the dough by placing the flour,salt and oil in the mixing bowl. Mix for the oil to wet the flour and then add the water. Add enough water to produce dough which is soft to the touch but not sticky. Cover with clingfilm and let it rest for 30 minutes. Step 2 Prepare the filling by adding all the ingredients in a bowl. If the mixture is dry add the milk too but if the mixture is quite wet then there is no need to add the milk. Step 3 Take one portion of dough and lightly dust the dough with flour. Flatten with a rolling pin to the width of your pasta machine. Feed the dough through on the widest setting, then fold each side of the dough to the centre, as if you were folding a letter to fit inside an envelope. Feed the dough through on the widest setting again. Adjust the rollers to the next setting and roll the dough through the pasta machine again. Continue to roll the dough through the machine, decreasing the thickness by one setting each time and dusting with a little more flour if it becomes sticky. Do not be tempted to skip settings on the pasta machine, otherwise the dough may tear. (The process is similar to that of making ravioli or simple pasta). Step 4 Once you have rolled it through the second finest setting, place teaspoons of the ricotta mixture at even intervals along one side of the sheet. Fit as many teaspoons as you can on each sheet. Then take the other half of the sheet and cover the other side making sure all the ricotta mixture is nicely covered. Using a pasta cutter, cut the pourekia/pastries. Place on a plate or tray and cover with a clean tea towel. If you don’t have a pasta cutter you can always use a knife. Repeat with the rest. Step 5 When you are finished with all the pastries, add some oil in a small pot (around 14cm) and heat it until you start seeing small bubbles. Another way to test it is to fry a small piece of dough. If it starts floating as soon as you put it in the pot then the oil is ready to fry, if it just sinks then you have to wait a bit more. When the oil is ready, add 4 pastries at a time and fry until golden making sure to flip them too. Once ready, place them on a plate lined with kitchen paper to drain any excess oil. Step 6 Once all the pastries are fried and drained let them cool for a bit and then dust them with some icing sugar and cinnamon if you prefer. Enjoy! x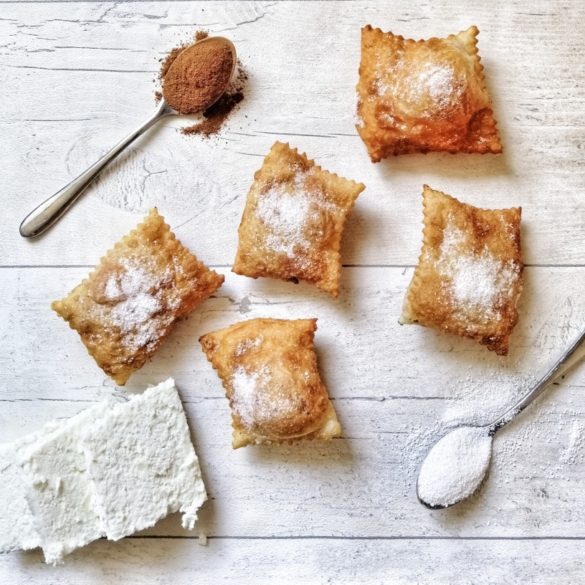
Ingredients
Instructions
