
Koupes! My first Cypriot recipe on the blog and what a recipe this is!! I have to be honest here and I am going to be honest from the beginning… it’s not an easy recipe but it’s not the hardest either and I am living proof. I have always heard older ladies complaining how koupes are so hard to make and how they prefer to buy them so I was scared to try them. The first and only time my mum tried to make them, when it was time to fry them they just collapsed in the pan. I remember this so vividly cause we both worked so hard to make them and at the end it was disastrous!
But I missed them and my daughter missed them cause she absolutely loves them so I ventured on to find the best recipe. And I did and I will be sharing it with you along with some tips to succeed.
Koupes are not really a Cypriot recipe but a Middle eastern. I only found that out when we moved to Abu Dhabi a few years ago and we visited a Lebanese restaurant. The waiter suggested Kibbeh so we had to try it. It was such a big surprise when we got served Koupes haha. To be fair though, koupes is a version of Kibbeh a lot more subtle in taste and not as heavy with spices.
Honestly, you will absolutely love making these and even though they are challenging to make they are heavenly delicious and special.
Right,let’s get cooking my darlings!
INGREDIENTS
For the dough
2 cups fine bulgur wheat
2 cups of water
2tbs olive oil
2tsp salt
2tsp pepper
1/2 tsp cinnamon
2 eggs
For the filling
300gr pork minced meat
3 cups finely chopped onion
1/4 cup olive oil
1 whole bunch of parsley
salt and pepper
1tsp cinnamon
3-4 cups of vegetable oil for frying( depending on the size of your pan)
INSTRUCTIONS
Step 1
In a pan, put the water, olive oil,salt, pepper and cinnamon. As soon as they start boiling remove from the heat.
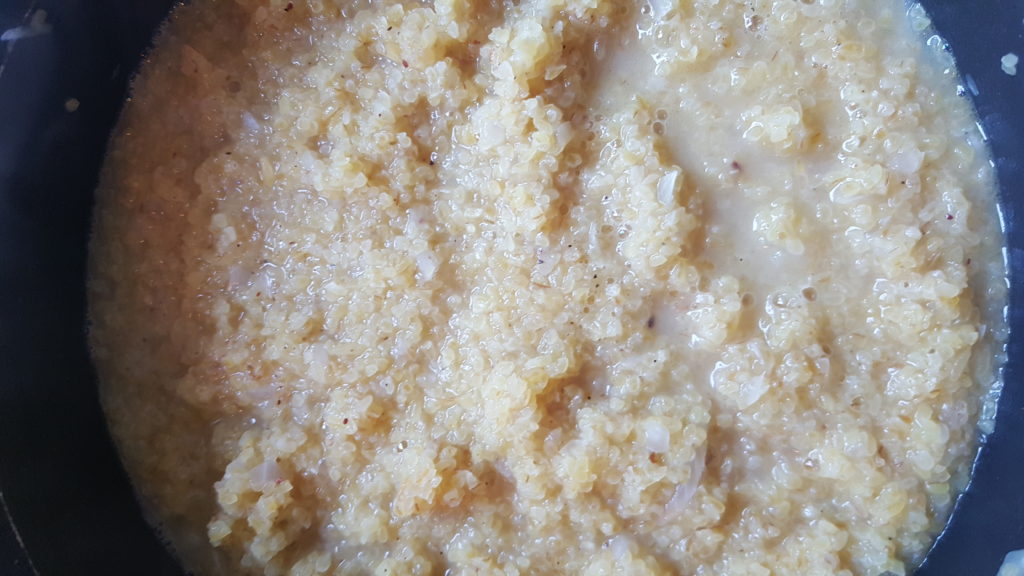
Step 2
In a big bowl, add the bulgur wheat and the boiled water mixture as soon as you remove them from the heat. Leave for at least 3-4 hours for the wheat to absorb the water and become fluffy
 Step 3
Meanwhile, prepare the minced meat. In a pan, add the olive oil and the onions. Let them saute for 10 minutes on a low heat. You are looking for soft, translucent onions. At this point add the meat and spices. Cook for 15 minutes on a medium heat until all the meat juices have evaporated and the minced meat is nicely browned. Remove from the heat and add the chopped parsley.
 Step 4
In the bulgur wheat mixture, add the eggs and begin to knead to create a dough. You are looking for a wet dough but not sticky. If you think the dough is not coming together then add some water gradually until you reach the right consistency. If you add too much water and the dough is sticky, add some flour to bind it back together
Step 5
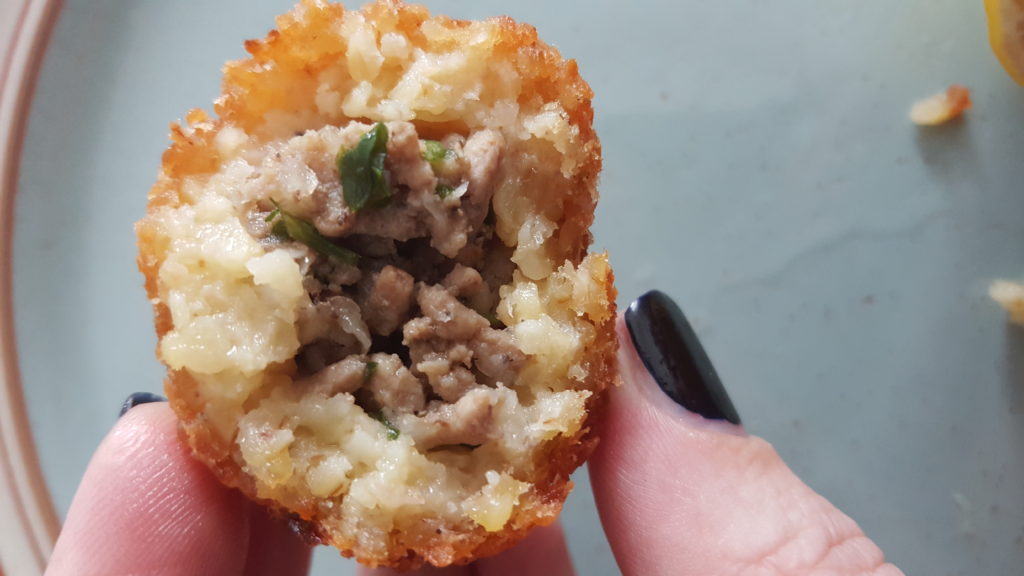
Once the dough has formed, start creating balls the size of a lemon approximately. In order to fill the balls you need to:
- wet your hands (always keep them wet throughout this process)
- With your thumb start pushing in the ball from one side. Slowly, you will have the middle hollow and that’s when you can start filling the koupes with the minced meat mixture. Once is filled (approximately 2 tsp of minced meat each) start forming the top so that you close it. Continue with the same process until you form all the koupes.
![]()
Step 6
Freeze them. When you finish making ten for instance, pop them in the freezer. The best way is to put them on a plate, freeze them for 10 minutes or so and then pop them in freezer bags.
Step 7
In a medium saucer pan, add the vegetable oil. Let it bubble and once the oil is really hot begin to deep fry them. Let them fry for 7 minutes approximately or until they reach a nice golden brown colour.
♥ Make sure the bulgur wheat you buy is fine and not coarse. I bought mine from Morrison’s but I prefer ASDA’s. Definitely stay away from Sainsbury’s wheat as it’s too coarse ( even though I prefer it when cooking bulgur wheat with passata)
When shaping the balls always ALWAYS keep your hands wet. It makes life so much easier, trust me.
If you want. you can double the recipe and make lots of koupes to keep in the freezer. They really can stay in there for 6 months so whenever you feel like it you can just fry them and enjoy them hot.
Koupes are served as a starter or snack. When serving, serve them with cut up lemon which you squeeze lots in the koupa once you bite it. Honestly, even though is a fiddly recipe, the taste and experience is by far worth it!
My little helper this week was Gigi!
and my little taster was Nektaria

♥ LOVE THIS RECIPE? KEEP IN TOUCH AND DON’T MISS OUT ON ANY OF GREEK FOOD ALCHEMIST’S RECIPES. PLEASE SUBSCRIBE AND FOLLOW ME ON INSTAGRAM AND FACEBOOK ♥